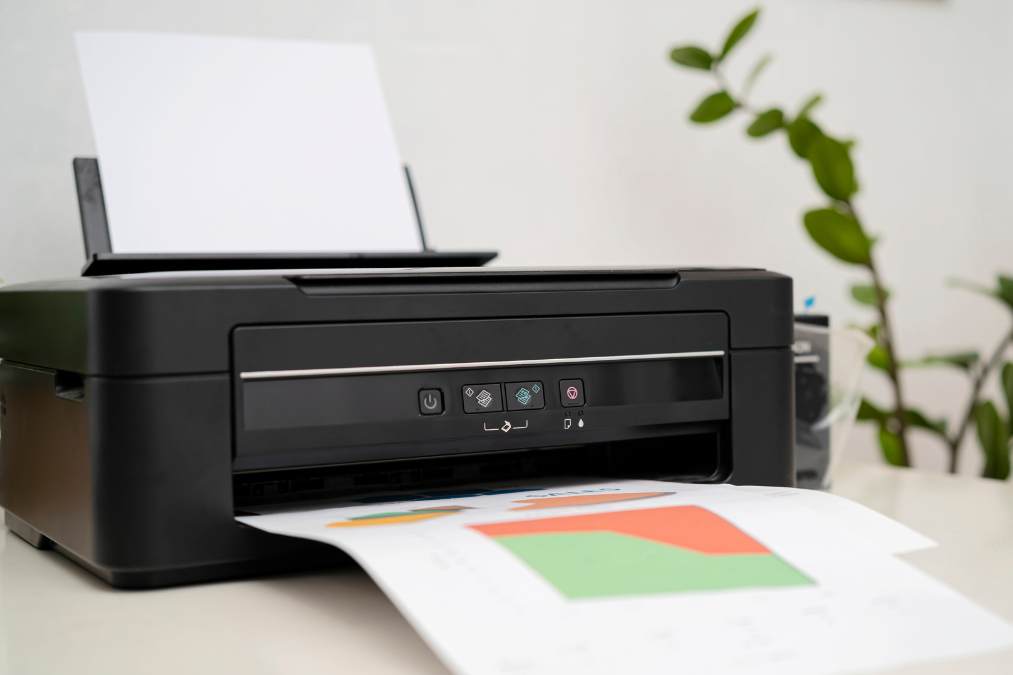
Printing a test page is a fundamental step in ensuring the optimal performance of your printer. Analyzing the results of a print test can help you identify issues, make necessary adjustments, and maintain high-quality print output. This guide provides a detailed overview of how to interpret the results of a print test and what each element signifies.
1. Print Quality and Text Clarity
What to Look For:
- Sharpness: Text should be crisp and clear, with no blurring or smudging.
- Consistency: Characters should be evenly spaced and aligned.
- Legibility: Text should be easily readable without distortion.
What It Signifies:
- Good Quality: Sharp, clear text indicates that your print heads are aligned correctly and the printer settings are appropriate.
- Issues: Blurred or fuzzy text may suggest clogged print heads, incorrect print settings, or low-resolution settings.
Actions to Take:
- Clean Print Heads: If text appears blurred, perform a print head cleaning cycle.
- Adjust Settings: Ensure print settings are set to high quality or best for your print job.
2. Color Accuracy
What to Look For:
- Correct Colors: Colors on the test page should match those on your digital file.
- No Color Bleeding: Colors should not bleed into each other or appear distorted.
What It Signifies:
- Accurate Colors: Proper color reproduction indicates that your color profiles and printer settings are correctly configured.
- Color Issues: Misalignment, color bleeding, or incorrect colors can result from incorrect color profiles, low ink/toner levels, or misaligned print heads.
Actions to Take:
- Check Color Profiles: Ensure you’re using the correct color profile for your printer and paper type.
- Replace Cartridges: Replace any low or empty cartridges and perform a color calibration if needed.
3. Alignment and Spacing
What to Look For:
- Proper Alignment: Text, images, and patterns should be correctly aligned without any skewing or misplacement.
- Even Spacing: Gaps between text or images should be consistent.
What It Signifies:
- Good Alignment: Proper alignment and spacing suggest that your print heads are aligned correctly and paper handling is accurate.
- Alignment Issues: Misalignment or inconsistent spacing can indicate problems with print head alignment or paper feeding.
Actions to Take:
- Align Print Heads: Use your printer’s alignment utility to correct any misalignment.
- Check Paper Loading: Ensure that paper is loaded correctly and not causing skewing during printing.
4. Print Density and Coverage
What to Look For:
- Even Coverage: Areas of solid color should be evenly filled without streaks or gaps.
- Appropriate Density: Ink or toner should be appropriately dense, not too light or too heavy.
What It Signifies:
- Even Coverage: Proper coverage indicates that ink or toner distribution is balanced and your printer settings are correct.
- Coverage Issues: Streaks, gaps, or uneven density can result from clogged print heads, inconsistent ink/toner levels, or improper settings.
Actions to Take:
- Clean Print Heads: Run a cleaning cycle to address any uneven coverage or streaks.
- Replace Cartridges: Check and replace any cartridges that may be running low or are defective.
5. Paper Handling and Print Quality
What to Look For:
- No Paper Jams: The test page should print without any paper jams or misfeeds.
- Smooth Output: The paper should not have wrinkles, creases, or other distortions.
What It Signifies:
- Good Handling: Smooth paper handling and quality output indicate that the printer’s paper feed mechanism is functioning correctly.
- Handling Issues: Paper jams, wrinkles, or misfeeds can indicate problems with the paper path or loading.
Actions to Take:
- Check Paper Path: Inspect the paper path for obstructions or debris.
- Adjust Paper Settings: Ensure that the paper type and size settings match the paper loaded in the printer.
6. Specific Test Patterns and Their Meanings
Lines and Grid Patterns
- What to Look For: Lines and grid patterns should be straight and evenly spaced.
- Significance: Uneven lines or gaps indicate issues with alignment or print head clogging.
Color Bars and Gradients
- What to Look For: Color bars should transition smoothly from one color to another.
- Significance: Banding or abrupt color changes can indicate problems with color calibration or ink/toner distribution.
Text Blocks
- What to Look For: Text blocks should display consistent font quality and spacing.
- Significance: Variations in text quality can reveal issues with print head alignment or resolution settings.
Additional Resources
Printer Manufacturer Support Pages:
- HP Support: HP Support
- Canon Support: Canon Support
- Epson Support: Epson Support
- Brother Support: Brother Support
Helpful Videos:
- Interpreting Test Page Results: Watch on YouTube
- Printer Calibration and Maintenance: Watch on YouTube
Conclusion
Understanding the results of a print test is crucial for diagnosing and resolving printer issues, ensuring high-quality output, and maintaining optimal printer performance. By carefully analyzing elements such as print quality, color accuracy, alignment, density, and paper handling, you can identify and address potential problems effectively. Regularly performing test prints and interpreting their results will help you maintain


